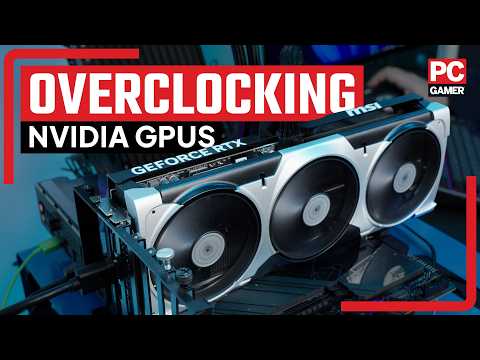
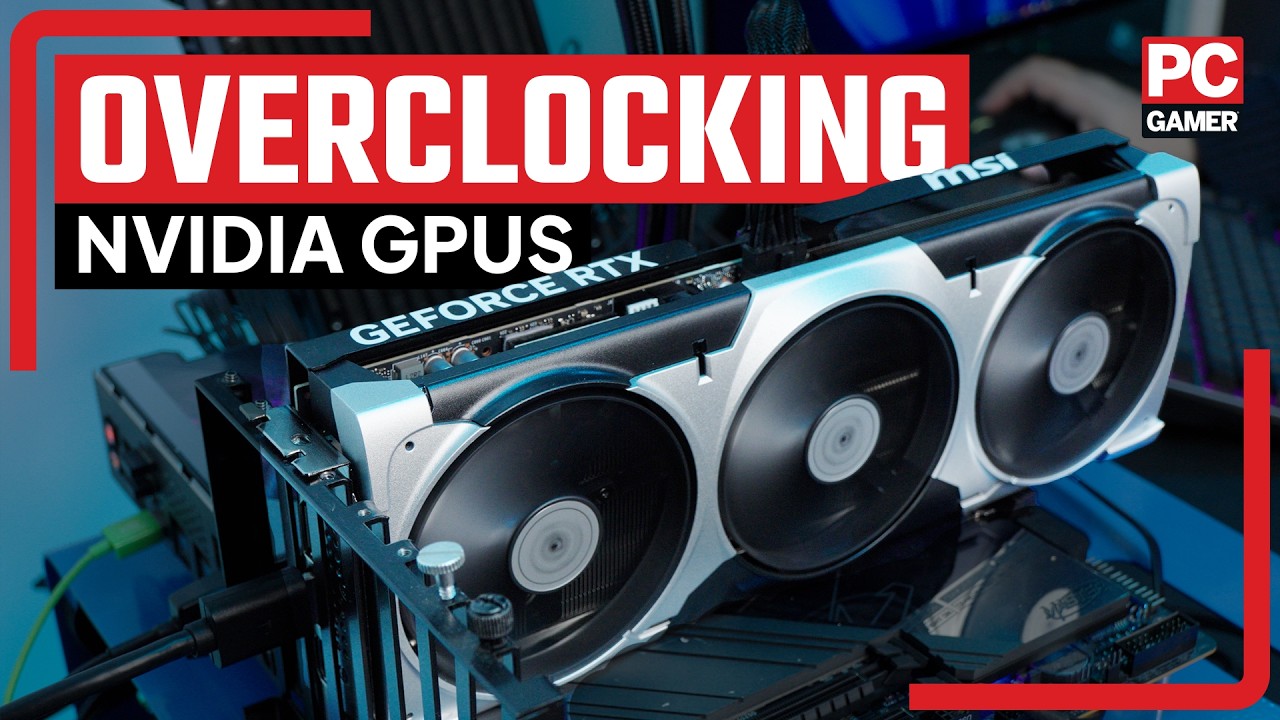
How to overclock your Nvidia GPU: step by step guide | Critical Rig

How to undervolt your AMD GPU: https://youtu.be/Y7dToWJZ-eI?si=R8JRxhoJczURosOI
0:00 – Introduction 0:37 – The green approach 01:51 – Step 1: Finding your baseline 03:37 – Step 2: Start tweaking 05:18 – Step 3: Push that chip 06:16 – Step 4: Put it all together 07:17 – Step 5: Benchmarking
X: https://x.com/pcgamer TikTok: https://www.tiktok.com/@pcgamer_mag Instagram: https://www.instagram.com/pcgamer_mag/ Facebook: https://www.facebook.com/pcgamermagazine/ Forum: https://forums.pcgamer.com/
To subscribe to the magazine in the US, UK, or elsewhere, visit magazines direct.
PC Gamer is the global authority on PC games. For over 30 years, we’ve been at the forefront of covering PC gaming with worldwide print editions, around-the-clock news, features, esports coverage, hardware testing, and game reviews, as well as our popular PC Gaming Shows.
How to overclock your Nvidia GPU: step by step guide | Critical Rig
Overclocking a Nvidia GPU can unlock additional performance for gaming, content creation, and compute workloads. This guide provides a structured, step-by-step approach to overclocking safely and effectively, with considerations for stability, thermals, and long-term hardware health.
Disclaimer: Overclocking carries inherent risks, including voiding warranties and potential hardware damage if not done carefully. Proceed with caution, monitor temperatures, and avoid pushing beyond safe limits.
1) Prepare your system – Update drivers: Ensure you have the latest Nvidia Game Ready or Studio drivers from the official Nvidia website. – Install reliable software: Download a trusted overclocking utility such as MSI Afterburner (with RTSS for frame rate monitoring and anti-tearing), Nvidia Inspector, and GPU-Z for real-time data. – Benchmark baseline: Run a reputable benchmark or in-game sequence to establish a baseline for FPS, temperatures, and clock speeds. – Check cooling: Confirm that your case fans, GPU fans, and overall airflow are adequate. Clean dust and ensure thermal paste is in good condition if your GPU is older.
2) Understand the key parameters – Core clock (GPU clock): Determines the speed of the GPU’s core. Increasing it raises performance but also heat and power consumption. – Memory clock: Affects the speed of VRAM. Mild increases can improve bandwidth-limited workloads; excessive increases may cause instability. – Power limit: Dictates how much power the GPU can draw. Raising this allows higher clocks but increases heat. – Temperature target: Sets the desired operating temperature. Staying within safe thermal margins is crucial for longevity. – Voltage (Vcore): Some GPUs tolerate light voltage bumps for stability at higher clocks. Increasing voltage significantly raises heat and risk; use sparingly.
3) Establish a baseline and target – Record baseline: Note current GPU clock, memory clock, voltage (if visible), power limit, temperature, and fan speed. Run a representative stress test or a demanding game at your typical settings to establish a performance baseline. – Set a modest target: Plan a modest clock increase (e.g., +50–100 MHz on core, +100–200 MHz on memory) and a small power limit bump (e.g., +10% to +20%) as a starting point. Avoid large jumps on the first attempt.
4) Begin with core clock adjustments – Open your overclocking tool (e.g., MSI Afterburner). – Increase the core clock gradually in small increments (e.g., +25 to +50 MHz). – Apply changes and run a short stability test: use a game loop or a synthetic benchmark for 10–15 minutes, monitoring for artifacts, crashes, or driver resets. – If stable, repeat in small steps until you encounter instability (artifacting, crashes) or a crash during testing. – When instability occurs, reduce the last stable offset and proceed to the next adjustment phase.
5) Tune memory clock – With the core clock stable, adjust the memory clock in smaller increments (e.g., +50 to +100 MHz). – Test stability similarly with sustained workloads. – If you encounter instability, back off by a smaller increment and test again.
6) Adjust power limit and temperature target – Increase the power limit gradually (e.g., +10% to +20%) to support higher clocks if stability is limited by power headroom. – Set a reasonable temperature target (e.g., 80–85°C for many Nvidia GPUs). Higher targets can permit more aggressive clocks but increase thermal wear. – Monitor temperatures during extended testing. If temperatures are too high, reassess cooling and consider dialing back the clock or improving airflow.
7) Fine-tuning and validation – Repeat the cycle: core clock, memory clock, and power limit adjustments with smaller increments, testing after each change. – Validate across workload diversity: test in a demanding game, a heavy rendering task, and a synthetic stress test to ensure stability across scenarios. – Check for artifacts: look for visual glitches, banding, pixel corruption, or driver crashes. Any artifacts indicate instability.
8) Long-term considerations – Thermal management: Maintain clean cooling paths and consider aftermarket cooling solutions if temperatures remain high. – Warranty and risk: Be aware of your warranty terms and avoid aggressive voltages that can shorten the GPU’s lifespan. – Use conservative profiles for daily use: If you rely on the GPU for long sessions, consider a profile that balances performance and thermals. – Documentation: Save stable profiles with descriptive names and keep notes of the exact offsets and limits for future reference.
9) Troubleshooting common issues – Driver crashes or TDRs: Revert to stable clock values and reduce power limit; check for driver updates and ensure Windows power settings are balanced for performance. – Artifacts or instability: Lower clocks, reduce memory offsets, or restore default voltages. Check for adequate power supply capability. – Temperature concerns: Improve case airflow, replace thermal paste if applicable, or throttle GPU performance when temperatures exceed safe levels.
10) Best practices – Make one change at a time and test thoroughly after each adjustment. – Keep a log of all changes, temperatures, and performance results for future reference. – Consider the quality of silicon: Some GPUs overclock better than others due to silicon lottery; set realistic expectations. – If you’re unsure, start with modest objectives and gradually explore higher performance while prioritizing stability and safety.
Conclusion: With a careful, iterative approach, Nvidia GPUs can yield meaningful performance gains without compromising stability or longevity. Always prioritize cooling, monitor real-time metrics, and maintain a cautious mindset as you explore the higher end of your device’s capabilities.
24/7 Video Game
All the best video games, all the time. Watch no commentary gaming videos live and on demand. By Adrian M ThePRO the Game Professional.
Join The Pro Gamers Community
• You are a pro gamer! • Share your content! • Get discovered!
Join The Pro Gamers Community on social media or login to 24/7 Video Game and submit your posts right to this website.
Up Game Shop
New & used video games, consoles, handhelds, retro, and gaming merchandise. Up Game Shop has the latest and greatest video game deals on the internet.